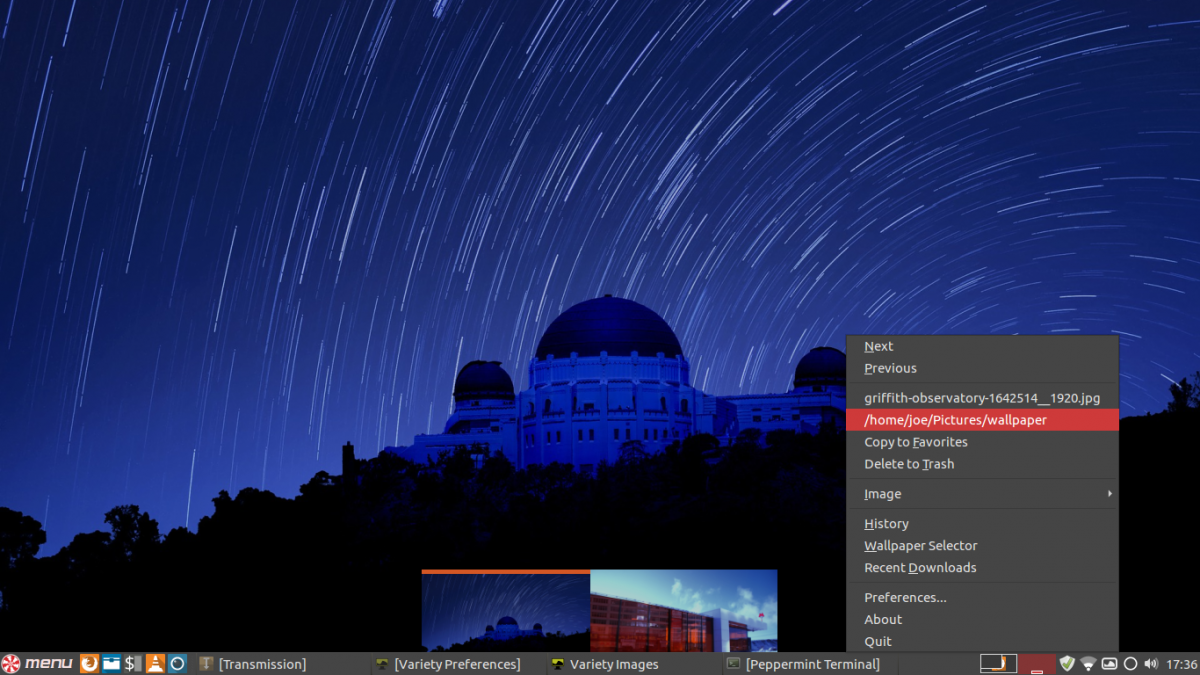
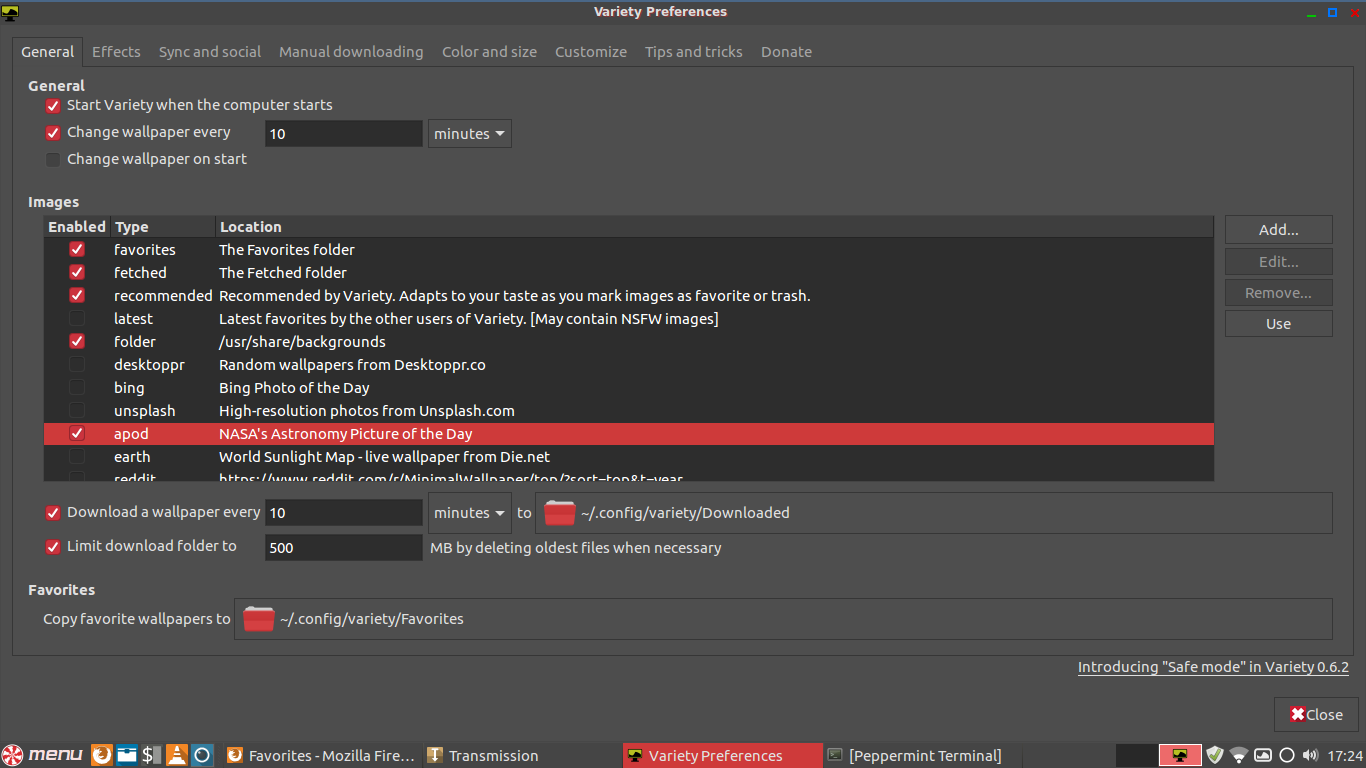
Variety is an automatic wallpaper changer, downloader and manager. It can grab content from photography websites like Flickr or via RSS. In just a few minutes I built a diverse temporary library of photos. something I love pops up it can be saved to a permanent favorites folder.
Variety has a ton of options to help you micromanage just about every detail.
Setting up Varity
It’s easy to get started, variety offers several defaults that can be turned on and off. Downloading, sources, folders etc.
However, in my testing it doesn’t exclude copywrited works and there is no way to set it to only download Creative Commons or copyleft wallpaper. Something to keep in mind if you’re going to be screencasting or publishing images while your desktop is visible.
I’ve been a fan of Peppermint since version 3 and a regular user since version 5. Over the years it has come a long way and each release improved. What’s stayed the same is the dedication of the development team to build a fast, lightweight and stable distribution geared to people like myself who spend a lot of time using web based applications along with my favorite software packages missing from my Chromebook. I can’t live without gedit, and gimp when I’m working and Peppermint has never disappointed me on a hard deadline.
Some of my favorite features of the 2015 release of Peppermint 6 include Peppermint Control Panel where they combined Peppermint settings along with XFCE settings implemented in the environment.
i3 Window locker took some getting used too, I hadn’t used i3 window manager previously but it took only moments to figure out how to use it and now I can’t live without it’s minimalist look and feel. It even led me to try i3 as an environment for a couple weeks.
Steam on Linux has been a huge time sucker; I’ve spent hundreds of hours on Borderlands 2, Kerbal Space Program and XCOM just to name a few. Peppermint has proved to be a wonderful gaming distribution by saving resources so I can grind every last frame out of Borderlands 2 and The Pre-Sequel.
The community forum is where Peppermint really sets itself above most Linux communities. I’ve often said on on social media that a distribution is only as good as it’s community and Peppermint has been at the top of my list for having a friendly and helpful group of people behind it.
Improvements I’d like to see to Peppermint are not actually specific to the distribution. LXDE has had some screen tearing issues and I think that can be solved with a little work on my end. Honestly it’s never been so bad that I felt the need to research. Sounds crazy, I’ve been using the latest release since I took part in the private beta and screen tearing is my only tiny issue.
As Peppermint moves on to 7 I’d like to see them stick to LXDE until LXQT is rock solid. The developers have done an amazing job adding functionality to LXDE via web apps and adopting some XFCE packages, and those are features I want to see continue. I haven’t tried LXQT yet but Lubuntu has decided to stick to LXDE for the 16.04 LTS release and I think that was the right decision. Lightweight and stable is where LXDE shines.
Advice to the Peppermint Project
Add an option to donate to the project on the website
Update the blog more frequently and feature the best reviews from bloggers
I’ll miss LXDE one day but not today
Even before Razor QT and LXDE merged in 2013 I knew LXDE fought an uphill battle, systems were getting faster and desktop environments more “interactive” or “feature rich” but at the end of the day we just need to get work done. I’m hoping that LXQT takes the best of both desktop environments and keeps things nice and lean so I can get work done without having an OS lock up on me on deadline. I’m hopeful that the merged project will aid developers and help facilitate simple features can be added to the core product as needed.
Do you enjoy Peppermint, LXDE or LXQT? submit your comments below.
Formatting and burning an iso image of a distribution to a USB stick from the terminal is easy and fast.
First open a terminal window or tab and enter the following command to list your drives and partitions. lsblk
It should result in something like this.
sdb      8:16   0 119.2G  0 disk

├─sdb1   8:17   0   487M  0 part /boot

├─sdb2   8:18   0     1K  0 part

├─sdb5   8:21   0   7.6G  0 part

└─sdb6   8:22   0 111.1G  0 part /

sdc      8:32   0 931.5G  0 disk

└─sdc1   8:33   0 931.5G  0 part /home

sdd      8:48   1   3.7G  0 disk

└─sdd1   8:49   1   642M  0 part
In my case sda thru sdc represent hard drives on my system while sdd is my 4GB flash drive.
It’s important to note the ‘sdd’ location as you’ll need it in the next step.
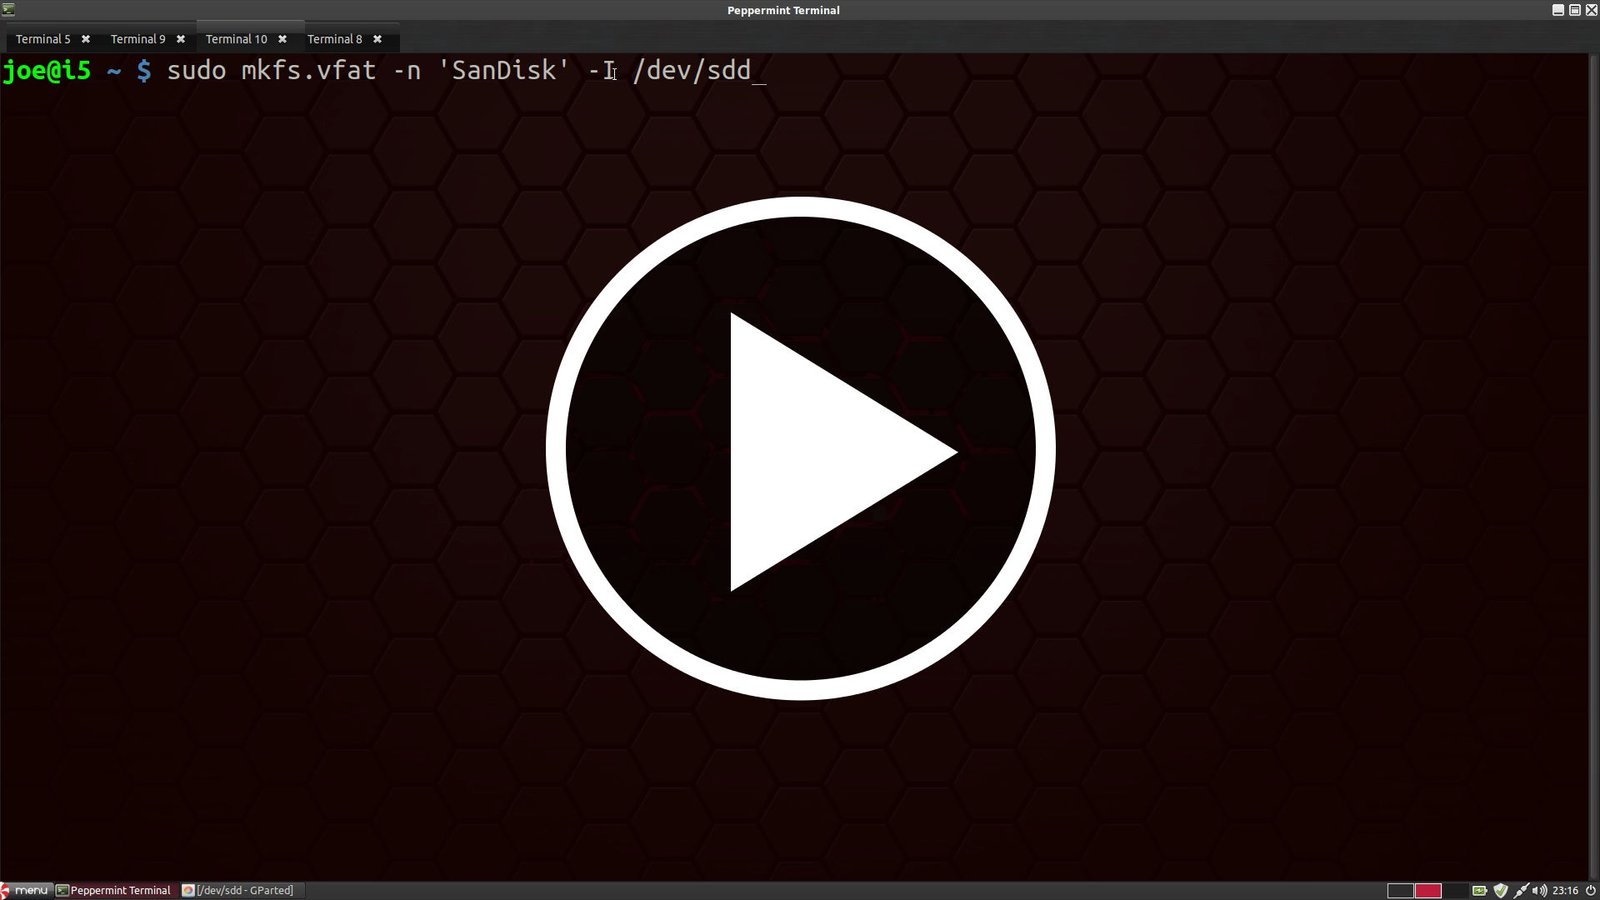
Next, Open another terminal window or tab and to format the drive to FAT32 type in the following
sudo mkfs.vfat -n 'SanDisk' -I /dev/sdd
sudo will give you super user access to be careful.
mkfs.vfat will set the partition
-n ‘SanDisk’ will name the drive
-I will use the entire drive
/dev/sdd is the drive location (be careful to pick the right drive letter, you don’t want to format the wrong partition.
Lastly,
select your distribution to load into your drive. In my video I navigated to the Downloads folder and ran the following command