Formatting and burning an iso image of a distribution to a USB stick from the terminal is easy and fast.
First open a terminal window or tab and enter the following command to list your drives and partitions.
lsblk
It should result in something like this.
sdb      8:16   0 119.2G  0 disk

├─sdb1   8:17   0   487M  0 part /boot

├─sdb2   8:18   0     1K  0 part

├─sdb5   8:21   0   7.6G  0 part

└─sdb6   8:22   0 111.1G  0 part /

sdc      8:32   0 931.5G  0 disk

└─sdc1   8:33   0 931.5G  0 part /home

sdd      8:48   1   3.7G  0 disk

└─sdd1   8:49   1   642M  0 part
In my case sda thru sdc represent hard drives on my system while sdd is my 4GB flash drive.
It’s important to note the ‘sdd’ location as you’ll need it in the next step.
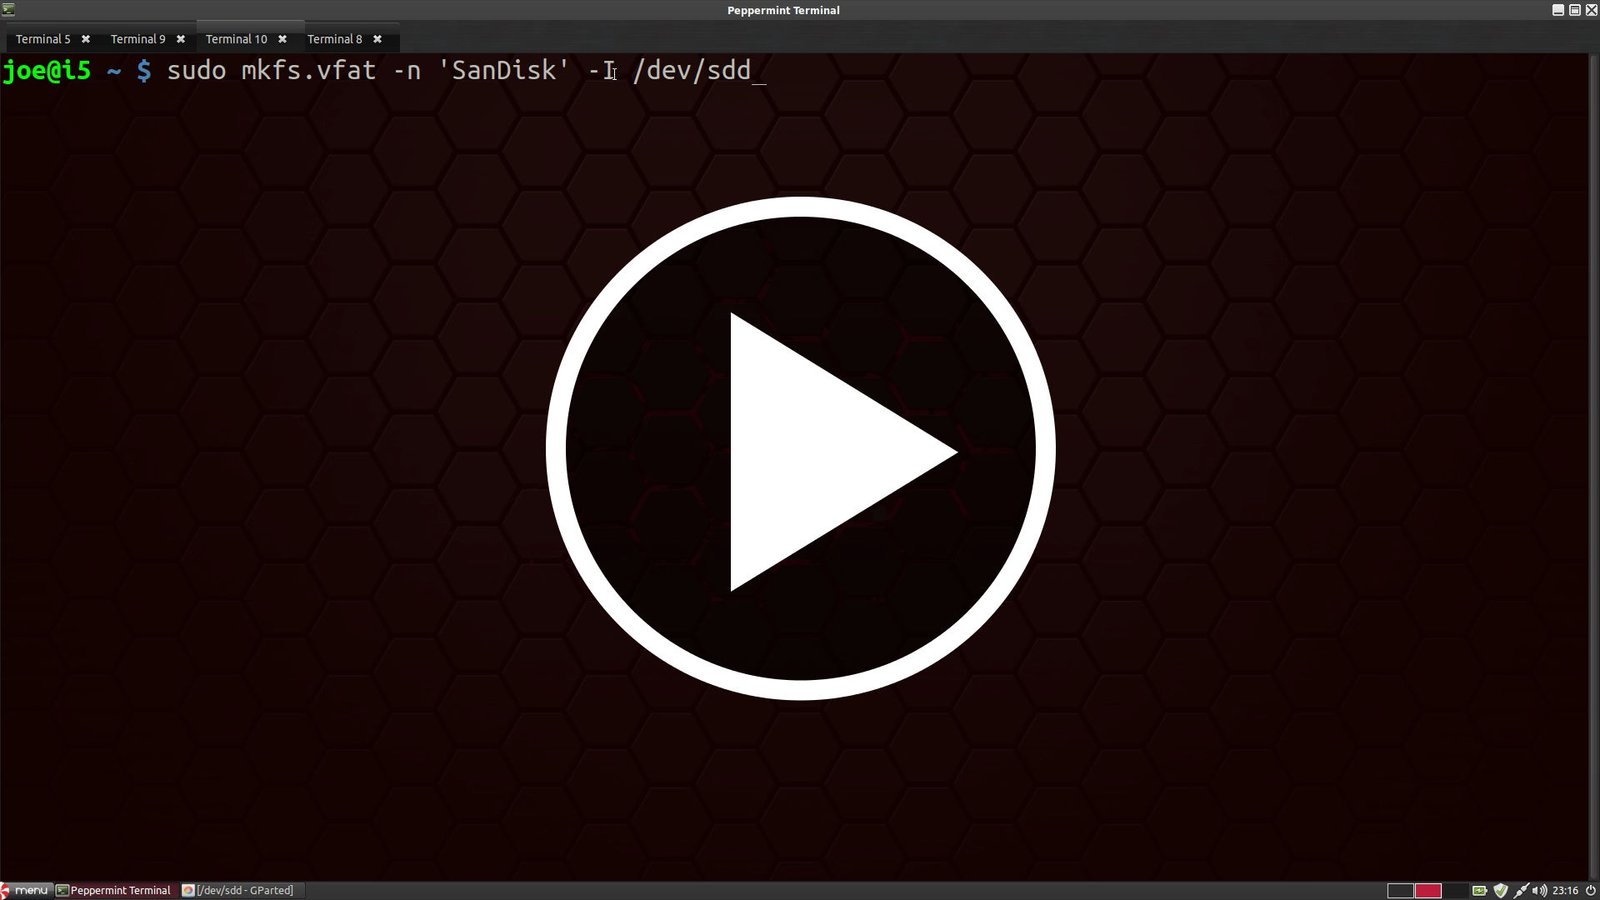
Next, Open another terminal window or tab and to format the drive to FAT32 type in the following
sudo mkfs.vfat -n 'SanDisk' -I /dev/sdd
sudo will give you super user access to be careful.
mkfs.vfat will set the partition
-n ‘SanDisk’ will name the drive
-I will use the entire drive
/dev/sdd is the drive location (be careful to pick the right drive letter, you don’t want to format the wrong partition.
Lastly,
select your distribution to load into your drive. In my video I navigated to the Downloads folder and ran the following command
sudo dd if=elementaryos-freya-amd64.20150411.iso of=/dev/sdd bs=1M
Again, be careful to select the right drive location or you’ll have a bad day.
if= will grab the iso named here
of= will ‘burn’ it to the drive location
bs=1M will make a block size of 1MB which I find very reialble.
That’s it, you’re done; now get distrohopping.
